14
10 2025
Everything About Cold Room Installation
Cold room installation requires attention, technical knowledge, and the right equipment.
Step-by-Step Cold Room Installation Process
EVERYTHING ABOUT COLD ROOM INSTALLATION
1. Needs Analysis
Before starting the installation, the following questions are answered:
Which products will be stored? (meat, dairy, vegetables, pharmaceuticals, etc.)
What is the target temperature range?
What is the daily entry and exit frequency?
What are the dimensions and location of the room?
This information is crucial for selecting the correct cooling capacity, insulation thickness, and equipment type.
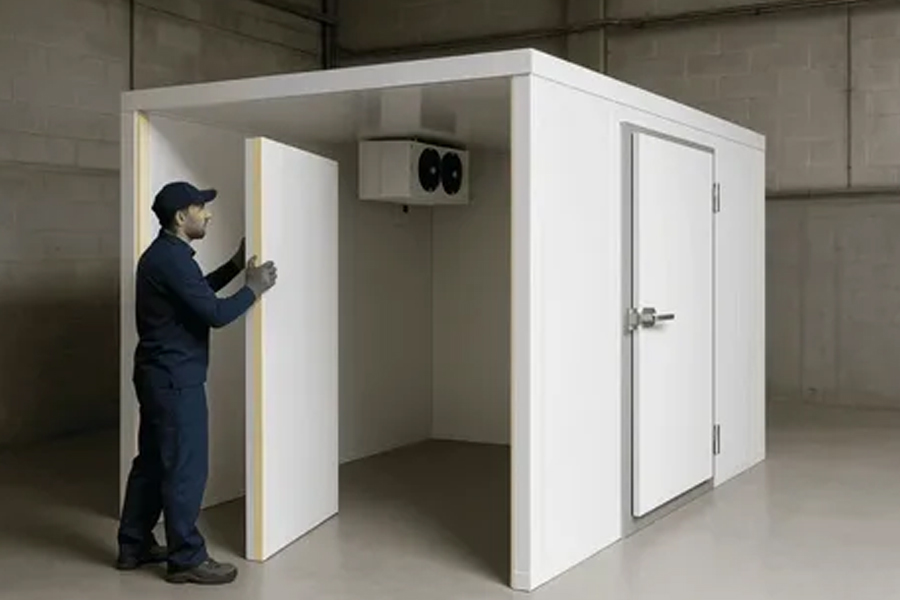
2. Insulation (Sandwich Panel) Installation
Thermal insulated panels are installed on the walls, ceiling, and floor of the room.
The panels are generally polyurethane-filled and are between 80 and 120 mm thick.
The panels are connected to each other using a locking system (male-female locking).
The floor is usually covered with PVC or stainless steel sheet metal.
Objective: To minimize air exchange with the outside environment.
3. Door Installation
The doors are special cold room doors (thermally insulated and gasketed).
Types:
Hinged door: For small rooms.
Sliding door: For large rooms.
Automatic door: For freezing rooms.
A heating element can be installed around the door (especially in rooms with a temperature of -18°C or below to prevent freezing).
4. Cooling Device Installation
The cooling system consists of two main parts:
Condenser unit (outdoor unit): Contains the compressor and fan and is mounted outside.
Evaporator (indoor unit): Mounted on the ceiling of the room, it circulates the cold air inside.
The appropriate refrigerant (R404A, R134a, R507, etc.) is selected.
5. Electrical and Control Panel
The thermostat, digital temperature display, and alarm systems are connected.
Some systems include an automatic defrost feature.
Electrical connections are protected by insulation.
6. Testing and Commissioning
After installation, the room is tested for 24 hours while unoccupied.
Temperature, humidity, and air circulation values are checked.
System settings are adjusted if necessary.
7. Maintenance and Energy Efficiency
Regular filter cleaning, gas control, and door seal maintenance must be performed.
Otherwise, the system will consume more energy and its cooling performance will decrease.
Installation Time
Room Size and Average Installation Time
10–20 m²: 2–3 days
30–50 m²: 3–5 days
Over 100 m²: 1 week or more
Installation Considerations
The floor must be level and waterproof.
An area away from direct sunlight should be selected.
If the door is frequently opened, air curtains or plastic strip curtains should be used.
A backup power system (generator) should be available.